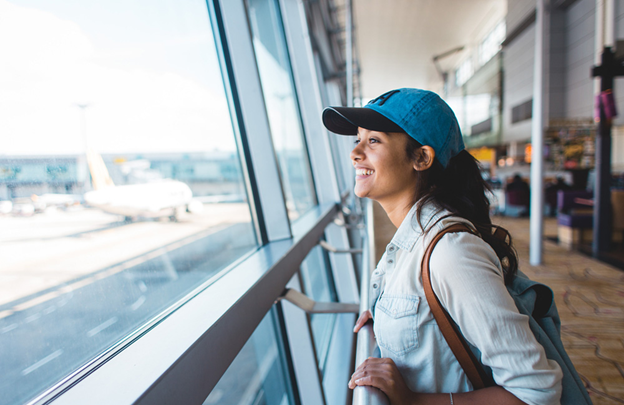
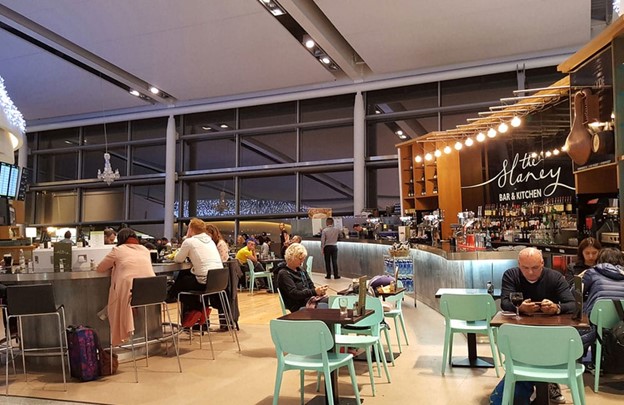
Airports are always very colorful and busy with travellers trying to fly from place to place with minimal interruption. Although we enjoy the thrill of visiting a new place, we can’t deny that flying can often be unpleasant. But are you aware that there are ways you can reduce the hassles of flying to the barest minimum?
You can get some help from airlines like Southwest. Taking an extra item could also change your flight experience drastically and make it better. Whether or not you have created a failproof airport checklist, it could be helpful to consider some of the following hacks.
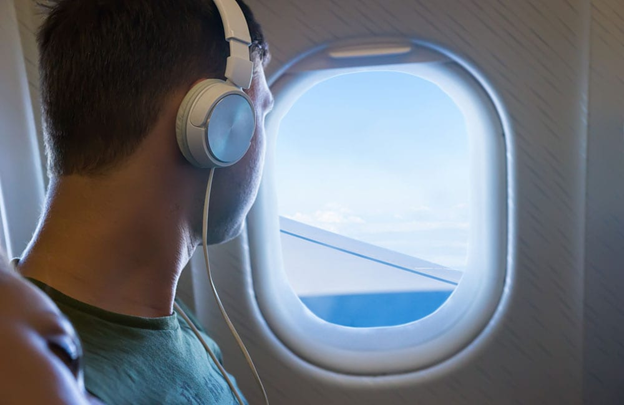
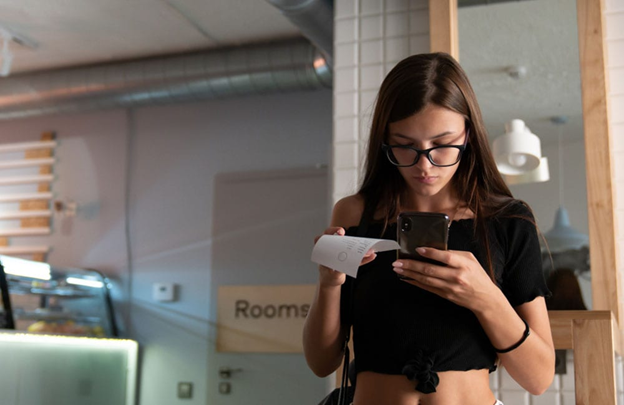
1. Take your Headphones with you
Pros: You don’t have to buy a new pair
What you need: A set that’s yours
Cost: $5+*
It’s advisable to take your own set of headphones to the airport for specific reasons. Apart from saving you the extra cost of buying a new set to see a movie in-flight, they’ll sit better on your ears and won’t slip out easily.
Some airlines like American Airlines are kind enough to give them out for free but they may be of inferior quality. To get the best out of the in-flight entertainment, you’ll do well to go with yours rather than to risk purchasing one from them.
2. Feel free to Request for an Upgrade
Pros: You could land a nicer seat
What you need: Boldness
Cost: Zilch
More often than not, people are too humble to ever consider asking for giveaways and that’s wrong. The world is a kill-or-be-killed kind of place and if you could ask the attendants forr an extra bit of luxury for a celebration, don’t hold back.
Some airlines such as United usually upgrade passengers’ seats for free if they can. They do it to give the lucky passengers a more memorable experience. Sure, it won’t be available always but you can never know unless you ask. Besides, what have you got to lose?
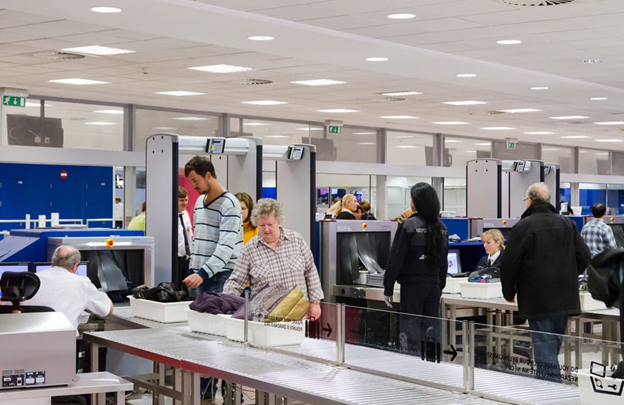
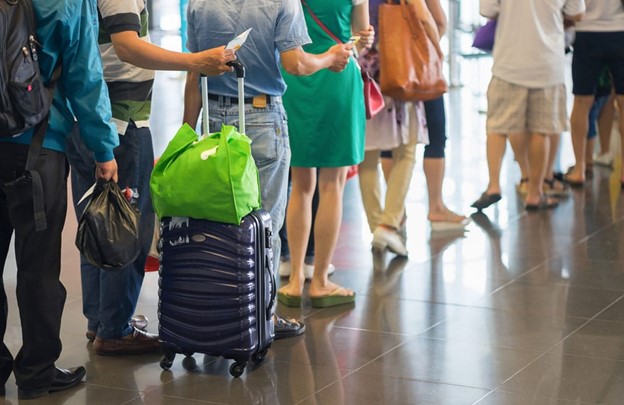
3. On your way to the Security Check, go through the left
Pros: Spend less time at the checkpoint
What you need: Know your left from right
Cost: Nothing
We all agree that spending long waiting times in the queue at the security check is annoying. However, you can find your way around it. Rather than heading to the checkpoint on the right, go left to the furthest one from you.
The logic is simple. Since almost everyone is right-handed, they naturally walk to the checkpoint on the right. But if you head left, spending lesser time getting checked. This may not stop you from spending a lot but you won’t be wasting your time.
4. Remember to take a travel-size charger
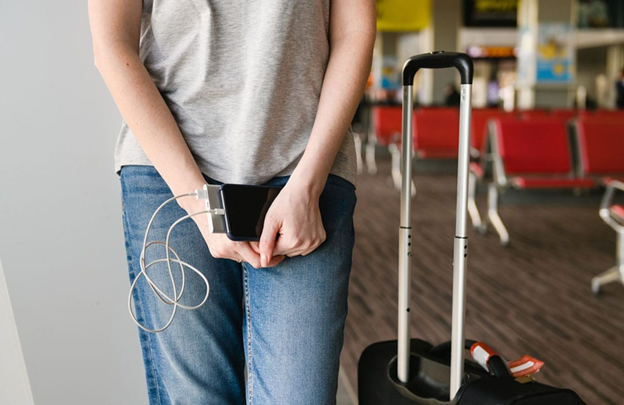
Pros: Stay juiced up
What you need: A small power bank
Cost: $10-$20
We all can’t do without our devices. Going on a trip without a charged phone is annoying and also unsafe. There are charging points in airports but it is unlikely that you’ll sit near one. It’s better to have a small power bank.
When you need to charge your iPhone, it’s easy to slip out the power. Also, switch off your phone or set on flight mode after the plane takes off else, it’ll keep searching for a signal and that drains the battery quickly.
5. Pack some wet wipes and some hand sanitizer
Pros: Protection from germs
What you need: Hand sanitizer and wet wipes
Cost: $3-$5
Since planes are often packed with people in close distance of each other, chances of contracting a bug are higher. Ensure your safety by taking a bottle of hand sanitizer and some wet wipes along.
At every chance, apply them to protect yourself from germs. Besides, wet wipes feel refreshing after a long time in the air. After a long flight, most people feel exhausted. Even if you can’t jump in the shower immediately, you can use the wipes to clean up a little.
6. Scared of Turbulence? Book the morning flights
Pros: A calmer flight
What you need: An early morning flight
Cost: No extra cost
Turbulence is one of the downsides of travelling by air. Some passengers may need to take expensive medication to get through the experience. Worst part? it isn’t always avoidable. However, there is something you can do to increase your chances of having a calm flight.
Turbulence mostly happens in the afternoon. So, you can escape by booking an early morning flight. This doesn’t mean it may not still happen but the odds are lesser and perhaps, you could peacefully catch up on your Netflix downloads.
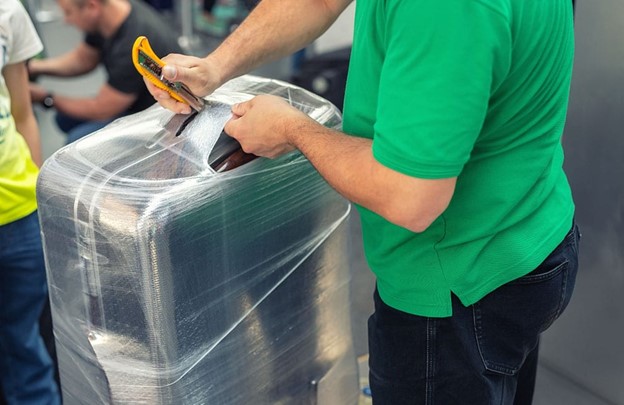
7. Take extra Ziploc Bags with you
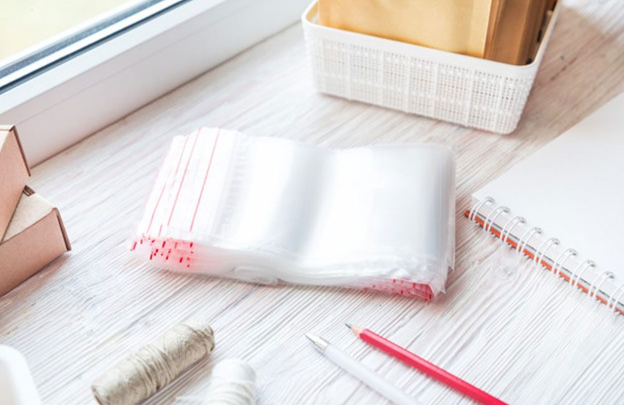
Pros: Taking liquids on your flight and safeguarding your stuff.
What you need: Ziploc bags
Cost: $4*
While packing what you need for your travels, you might want to consider grabbing a few extra Ziploc bags from the kitchen. There are different reasons why you should shove them in your suitcase.
Even after you’ve put your liquids into your suitcase, you may get something before boarding. Another reason for it is if you plan on visiting the beach. The see-through bags can keep them safe. If you didn’t, you can run into a store and grab a handful.
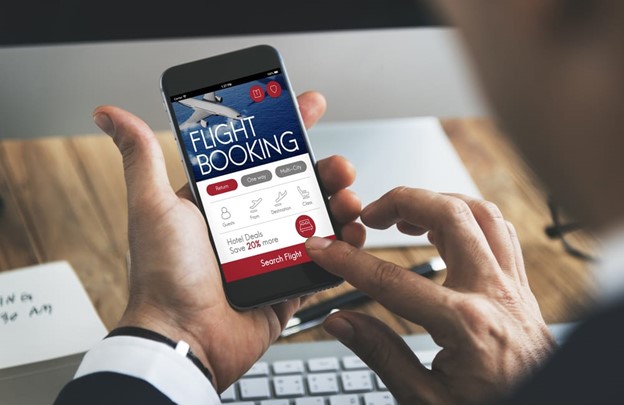
8. Check-in 24 hours before take off
Pros: Skip the queue
What you need: Check-in online
Cost: Nothing
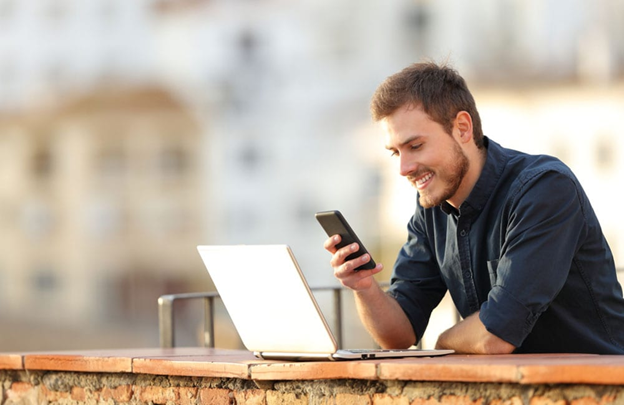
Some years back, check-in could only be done on ground at the airport. But today, technology has created this option and most airports support it. Check-ins can now be done online up to 24 hours before your flight takes off. Cue bye-bye expensive rush-hour rides to the airport.
Now, you can skip the wait to get it done manually. Just take your printed boarding pass and walk to the boarding hall. The internet has done both good and bad. But this counts as one of the good. It’s wonderful.
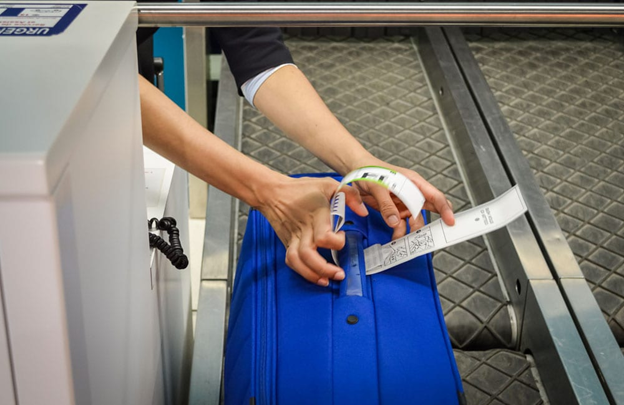
9. Snap a picture of your checked baggage
Pros: Spot your stuff quickly
What you need: Your phone camera
Cost: Nothing if you own a smartphone
At the airport, it’s common to have the same bags with multiple people. You can do certain things to distinguish your own luggage. This will help you spot it quickly. Better yet, whip out your phone and take a shot before it is checked.
With that, you have a photo to help you out at baggage claim ensuring you’re actually taking yours. No matter how sure you are of your luggage, someone else may have an exact replica from Target. Better safe than sad and red-eyed!
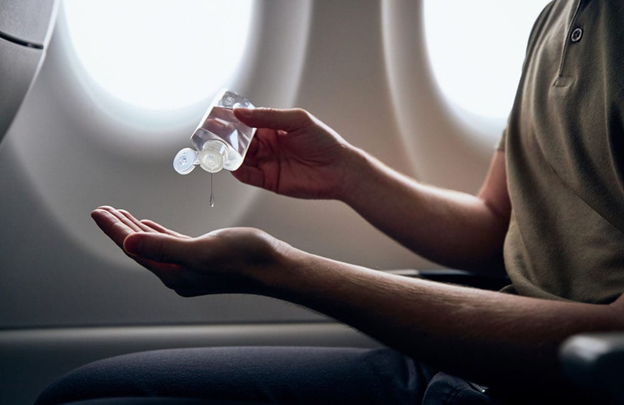
10. Freeze liquids to Take on to the plane

Pros: Take your liquids past security
What you need: A frozen bottle of your drink
Cost: $1*
Everyone knows that liquids are not allowed on planes except ones in tiny bottles. If you’re keen on taking a drink on your flight without buying it, then you can take the frozen version.
But it has to be completely frozen at the time you go through the security checks. If it is defrosted at all, it will be detected and you will have wasted your money and time. So if it’ll take a bit to get to the airport, skip this one.
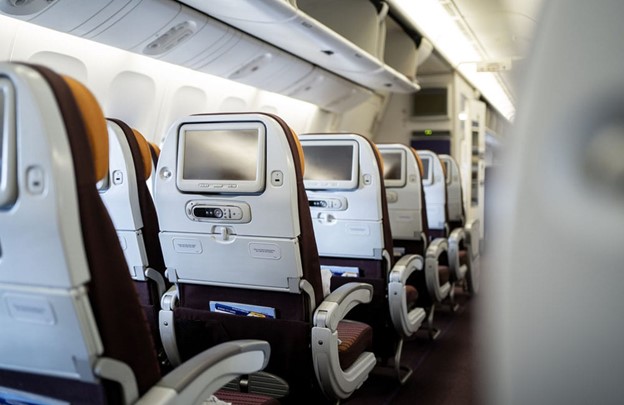
11. Get the best seat during check-in
Pros: Maximum comfort
What you need: SeatGuru
Cost: Nothing
Airlines each have different airplanes and this means different seat arrangements. This makes it difficult to be certain you’re picking a comfortable seat. Cue SeatGuru here. You can check out seat reviews on the seat you’ve picked to know if it’s good or not.
The idea is a new one that has saved many a tired passenger on different occasions. Don’t forget to pay the kindness forward by leaving a review on your own seat experience. You don’t know who you’d be helping out.
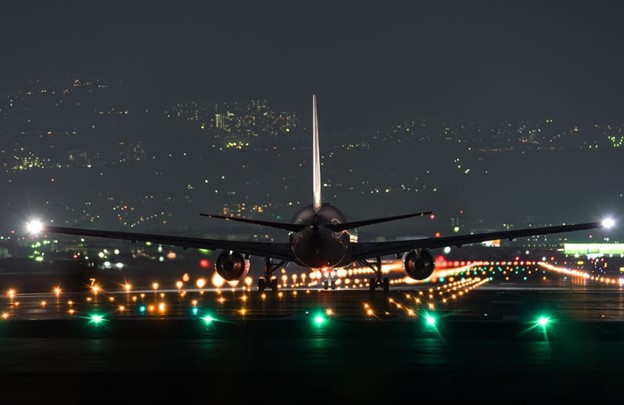
12. Take a red-eye flight
Pros: Peace and quiet
What you need: A Night flight
Cost: Nothing
Few people would to take a night flight as most of us would rather be in our beds at night. But if crowded airports are not your thing, take a flight that leaves at night and arrives in the morning. It’s much quieter.
During the flight, you can read your new book and nap. When you’re up, you will have gotten to your destination. Not everyone can do it but for peace and quiet, try it. You’ll be shocked at the difference plus, it costs nothing to switch.
13. Check for shops and restaurants at the airport ahead of time
Pros: More organization
What you need: Internet connection and knowing how to find a place
Cost: Nothing
You can get lost in the thrill of your upcoming trip and think you can eat at the airport. But there aren’t good shops and restaurants in some airports. Sometimes, it is littered with fast food eateries meaning lower food quality which is a waste of money.
Rather than eat unhealthy meals, it’s wise to scout for good places before your trip. Knowing what’s on the menu will help you plan what to eat before you get there rather than buying something you’d regret.
14. Take an empty water can
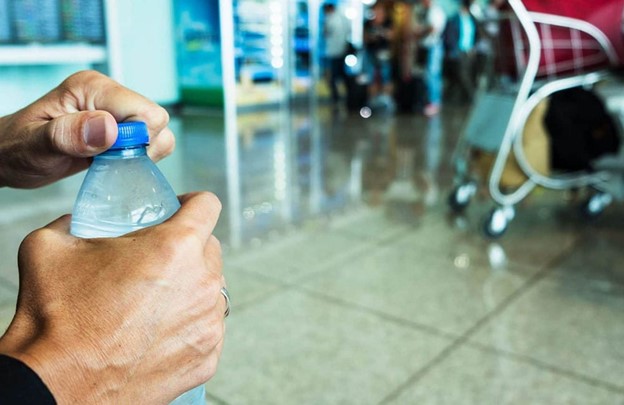
Pros: Free water
What you need: Empty water can
Cost: $1/Free
One major source of income for airports is from snack sales by passengers waiting to board. If you find that you tend to pick up a bottle of water very often after check-in, quit doing it. Take an empty water can with you and fill it with water after you’ve passed the security checkpoint.
This will ensure you get all the water you want without paying outrageously for it. This hack is simple but it will save you a lot of change over time.
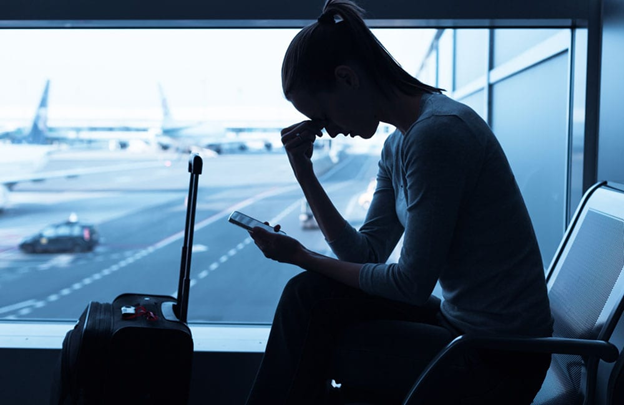
15. Remember to Check the status of your flight before leaving for the airport

Pros: No long or unnecessary waiting
What you need: Internet
Cost: Nothing
Arriving at the airport before your flight begins boarding can be seen as a good sign. However, there are times you could meet an annoying delay. Rather than assume everything is fine, find out your flight status before you set out for the airport.
This way, if the flight has been postponed for 5 more hours, you wouldn’t need to sit for that long till it’s time. You would have more time to recline at home, check that you’ve packed all you need and are good to go.
16. Save those hotel toiletries for trips
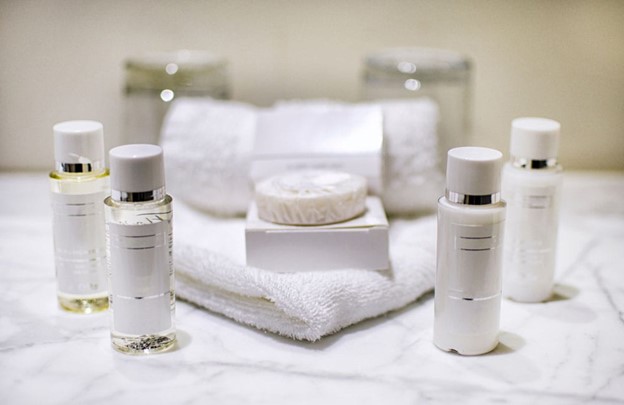
Pros: Ready tiny sizes for the trip
What you need: Toiletries from hotels
Cost: Nothing
There are different reasons why it’s cool to spend the night in a hotel. There are light-blocking curtains, soft pillows and room service. But most of all, there are those tiny toiletries in the bathroom. You can take them with you even if you don’t use them any time soon.
Keeping the toiletries from hotels like the Hilton will save you a ton of money. Instead of having to shop for mini travel-friendly toiletries at the airport or anywhere else, you can raid your collection.
17. Register to get access to the VIP section in the Airport Lounge
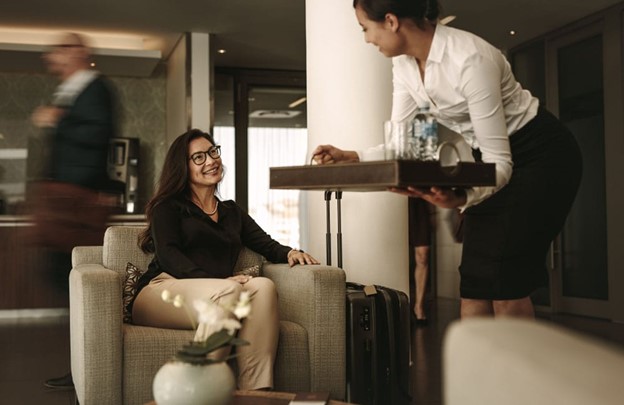
Pros:Premium treatment
What you need: Flyer miles for frequent travellers plus $40-$50
Cost: As stated
The incentives for flying increases with frequency. Airlines will want you to keep coming back hence, flyer miles for frequent travellers. You could get a VIP lounge membership instead. The VIP lounges in airports are deluxe with cozy seats, entertainment and free drinks.
Even without those miles, some airports can grant you access into this lounge. You could get a day pass for $50, though the location determines this. It’s a bit expensive but you’ll enjoy an amazing experience at the airport.
18. Skip the queue at the flight-rebooking desk
Pros: Skip the queue
What you need: Your phone
Cost: No costs
When there’re hitches and airlines cancel flights, passengers run to the desk to reschedule. Normally, this looks right since most people just want to get to their destinations. But rather than join the crowd, use a phone.
Call the airline and talk to the customer service rep on the phone. They can do the same things an on-ground attendant at the airport in seconds. No need for queues. Besides, talking on the phone will give you ample time to discuss your options based on your budget.
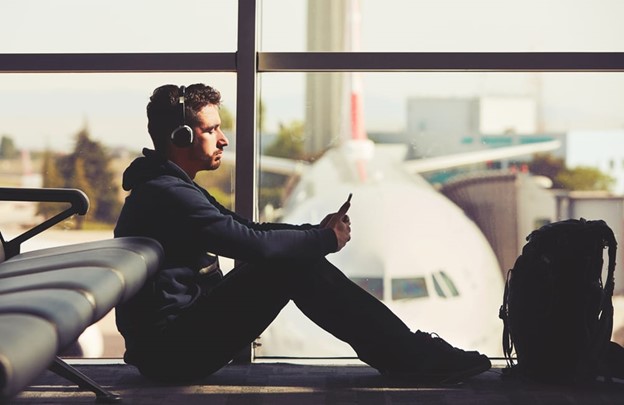
19. Catch some shut-eye at the airport
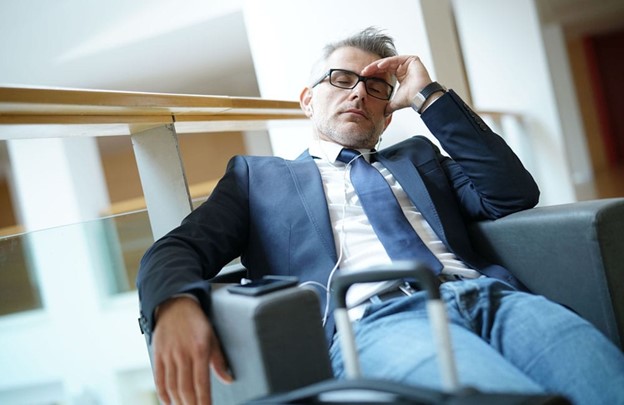
Pros: You feel refreshed
What you need: A quiet corner
Cost: Nothing
It takes a lot of patience not to get cranky if there’s a delay with your flight. One good thing to do is catch some zzz’s. It’s not easy to fall asleep on those hard benches but in some airports, sleep pods are available for rent like in Heathrow airport in London.
You can pay $60 and get a sleep pod. Time duration is about four hours. Asides that, the showers and bathroom essentials can be made available for you. It’s one great way to maximize your airport experience.
20. Keep your Laptop Easily Accessible
Pros: Ease of access
What you need: A laptop pouch
Cost: $10
This seems like a no-brainer but many times, we have dunked our laptops under layers of stuff and struggled to drag it out afterward. A simple remedy is to get a laptop pouch. With it, you can just get the laptop out, no poking through your luggage.
You don’t need to get an expensive case either. Some can be sold for as low as $10. It’s a little change to drop in exchange for time and effort. Besides, you’ll feel more put together during your travels.
21. Snap a picture of your parking space to help you remember where your car is parked
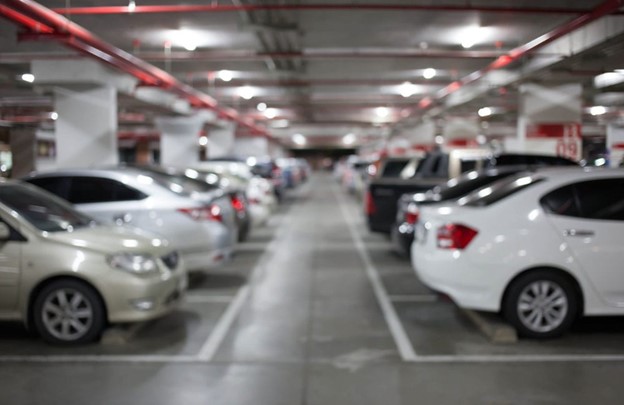
Pros: Never lose track of your parking spot.
What you need: A phone with a camera
Cost: $100 or Nothing if you have a phone.
Parking can be really difficult in an airport. It can be a challenge to secure a spot but when you score one, resist the urge to just park and bolt away.
Photograph your spot and the entire space to help you recognize it later. You may convince yourself that you won’t forget it but by the time you get back, that memory could be gone. The visual hint makes finding your parking spot really easy.
22. Put on the additional luggage

Pros: Extra space in your travel bag
What you need: Extra clothes
Cost: Nothing
Nobody would like to pay more money to check-in an extra bag when it contains few things. So, rather than going with it, wear the bulky clothes to the airport. You may not be comfortable but it can come off as soon as you get past the checkpoint.
Even if your luggage is a carry-on and you don’t want it to exceed the weight limit, try this hack. Slip on the jacket on your way through the security checks and tuck it in your bag afterwards.
23. Tie a Scarf on Your Luggage Handle or Wrap it
Pros: Less time at baggage claim
What you need: A bright scarf.
Cost: $5 or nothing If you have one
After spending about ten hours in the air, you’re ready to head home to hug your bed. Waiting at baggage claim is the last thing you’d want. If you went with black luggage, it’d be more difficult to spot yours.
There’s a hack you can employ to get your bag quickly. Tie a scarf, preferably one with a bright color around the handle. From afar, you’ll see it and be able to catch the taxi to your final destination ASAP!
24. Register For TSA Precheck or Global Entry
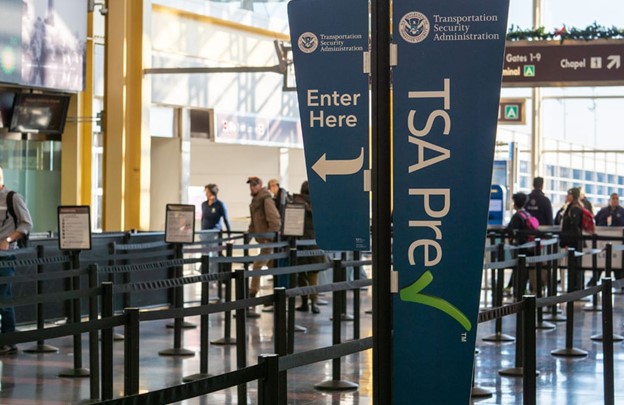
Pros: Entry time will be less
What you need: Meet the requirements and apply
Cost: $100
Nobody likes waiting on a long queue to be permitted to enter a country you’re already in. Most times, the only option is to wait it out till it gets to your turn. But you can bypass this hassle. Just be prepared to spend some money.
If you meet the requirements and can pay $100, consider applying for TSA Precheck or even Global Entry. You won’t need to on a queue and can arrive at your destination in the snap of a finger.
25. Check if there’s Free WiFi
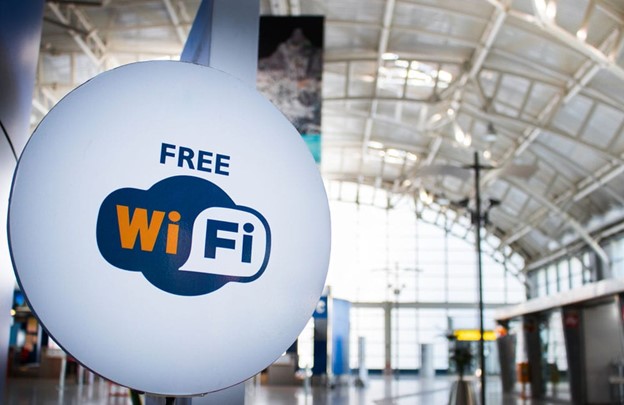
Pros: Free access to the internet
What you need: A phone
Cost: Nothing at all
A major downside of being in a different country is being unable to find a good wifi connection without paying for it. If there’s a need to stay connected to the internet, you should ask if there’s free wifi at the airport.
Most airports do as well as the restaurants inside the building. Even if there’s no sign that advertises it, you could still ask around for a code. This way, your money would serve other purposes besides data charges.
26. Place your devices and Liquids at the top of your carry-on
Pros: Ease of access during checks
What you need: Nothing
Cost: Nothing
There are so many laid down rules by the TSA about items you can and cannot take onto the plane. Even if they let you take something, it must go through screening. It’s just that way.
So, ensure you keep your liquids and devices at the top of your carry-on to make things easier for you. This way, you can easily reach them when you’re going through security. You won’t have to rummage through your bag to get those items out. Best of all? It’s free!
27. Get the Best deals by Booking Flights on Tuesdays and Wednesdays
Pros: Spend as low as $73 less on tickets
What you need: A computer/phone
Cost: Nothing
According to the study done by CheapAir, Tuesdays and Wednesdays are the best times to get great flight deals while Thursday and Friday are the cheapest travel days. You could save as much as $73 for each ticket booked on those days.
The worst day for both booking and travelling is Sunday because the next day starts the work week. CheapAir also said that you can snag the best flight deals in January and February. But months in summer come with higher-priced tickets.
28. Buy a small weight checker to weigh your baggage at home first
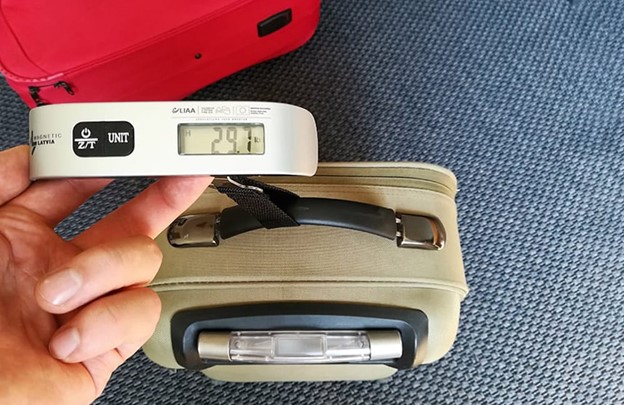
Pros: Avoid extra fees for exceeding weight limits
What you need: Portable weight checker
Cost: $11.99
There’s nothing more annoying than being told that your luggage exceeds the weight limit. You may suspect that it’s close to the limit. But it’s absolutely irritating when it’s just some pounds above the limit.
Asides being fined an extra $1,000, you would need to take out some stuff to stay within the weight limit. Get a small weight checker to avoid this unnecessary hassle. Weigh your bag before you set out for the airport. For frequent flyers, this is a lifesaver.
29. Resist The Urge To Play Your Music
Pros: Stay alert to hear announcements
What you need: Just your ears
Cost: Nothing
It can be tempting to plug your headphones and blast your favorite playlist at the airport to avoid listening to the TSA announcements and other irritating sounds. But it’s best to resist the urge and stay attentive.
Airlines make announcements frequently which are important. For instance, they could offer vouchers to anyone willing to forgo their flight for the next one (this happens when they oversell a flight). Two other important announcements are delayed flights and boarding announcements. So, hold off on playing your music.
30. Check out Waiting Times on the TSA app
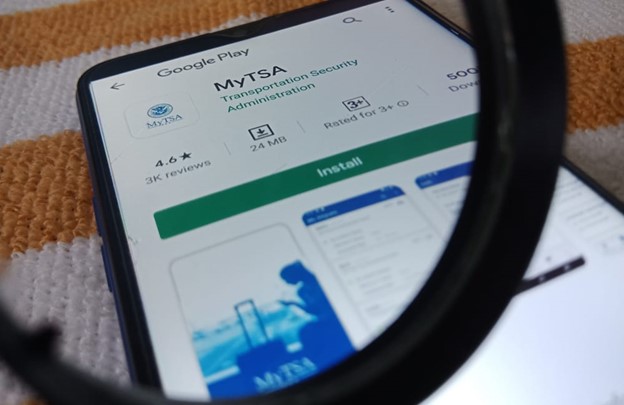
Pros: Know wait times and get news updates
What you need: The MyTSA app
Cost: Nothing.
Most people move with the hope that everything goes smoothly at the airport. If there’s a long queue, you would endure a wait. If not, get there and get through. Download the MyTSA app to be fully prepared and find out about the queue at the security check.
The American Council for Technology rated the app “Best Government mobile app. It can give you information about wait times, tips and warnings for travellers and essential news updates. Frequent travellers should get it.